How to Disable Pop-up Blocker in Chrome: Enjoy a Hassle-Free Browsing Experience
Pop-up blockers are essential browser features designed to prevent intrusive and potentially harmful pop-up windows from disrupting your online experience. However, there are instances when you may need to disable the pop-up blocker temporarily to access legitimate pop-ups, such as essential website notifications or login prompts. In this blog post, we will walk you through the simple steps to disable the pop-up blocker in Google Chrome, allowing you to have better control over your browsing experience.
Step 1: Open Google Chrome Settings
To begin, open your Google Chrome browser and click on the three vertical dots (the “Menu” icon) in the top-right corner of the browser window. This will open a drop-down menu.
Step 2: Access Chrome Settings
From the drop-down menu, hover your cursor over the “Settings” option, which is indicated by a gear icon. Click on “Settings” to access the Chrome settings page.
Step 3: Navigate to Privacy and Security
In the Chrome settings page, scroll down or click on the “Privacy and security” option in the left-hand sidebar.
AI for Influencer Marketing: Enhancing Efficiency and Content Optimization
Step 4: Locate Pop-ups and Redirects
Within the “Privacy and security” section, look for the “Site settings” option and click on it.
Step 5: Adjust Pop-up Blocker Settings
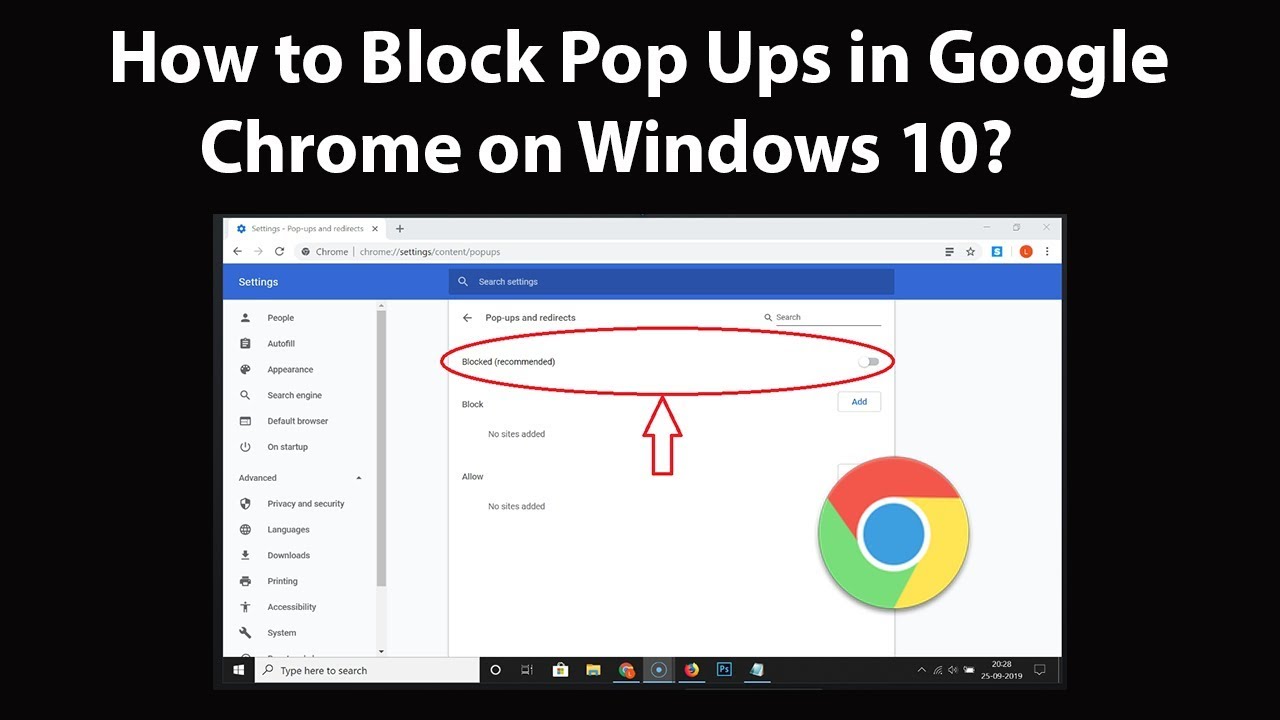
Under “Site settings,” locate the “Pop-ups and redirects” option. Click on it to access the pop-up blocker settings.
Step 6: Disable Pop-up Blocker
You will see a toggle switch next to “Blocked (recommended).” Simply click on the toggle switch to disable the pop-up blocker. Once disabled, the toggle switch should show “Allowed.” This means that pop-ups will now be permitted on websites you visit.
Step 7: Add Exceptions (Optional)
If you still wish to block pop-ups on certain websites while allowing them on others, you can add exceptions. Under the “Allow” section, click on “Add” and enter the website URL you want to exempt from the pop-up blocker. Click “Add” again to save the exception.
Step 8: Test the Changes
Once you have disabled the pop-up blocker or added exceptions, visit a website that typically displays pop-ups (e.g., a news website with article previews or a site with legitimate notifications). Check if the pop-ups are now visible without any issues.
Step 9: Re-enable Pop-up Blocker (Optional)
If you want to re-enable the pop-up blocker later, simply go back to the “Pop-ups and redirects” settings and click on the toggle switch to turn it back on.
Disabling the pop-up blocker in Google Chrome is a straightforward process that allows you to customize your browsing experience. By following these steps, you can gain more control over which pop-ups you wish to see and which ones you prefer to block. Keep in mind that while pop-up blockers can help prevent intrusive ads and malicious pop-ups, it’s essential to be cautious when allowing pop-ups on unfamiliar websites. By using this feature judiciously, you can enjoy a seamless and hassle-free browsing experience while ensuring your online safety and security.

