How to Access and Use AWS RoboMaker from the AWS Console to Develop and Test Robotics Applications
Introduction
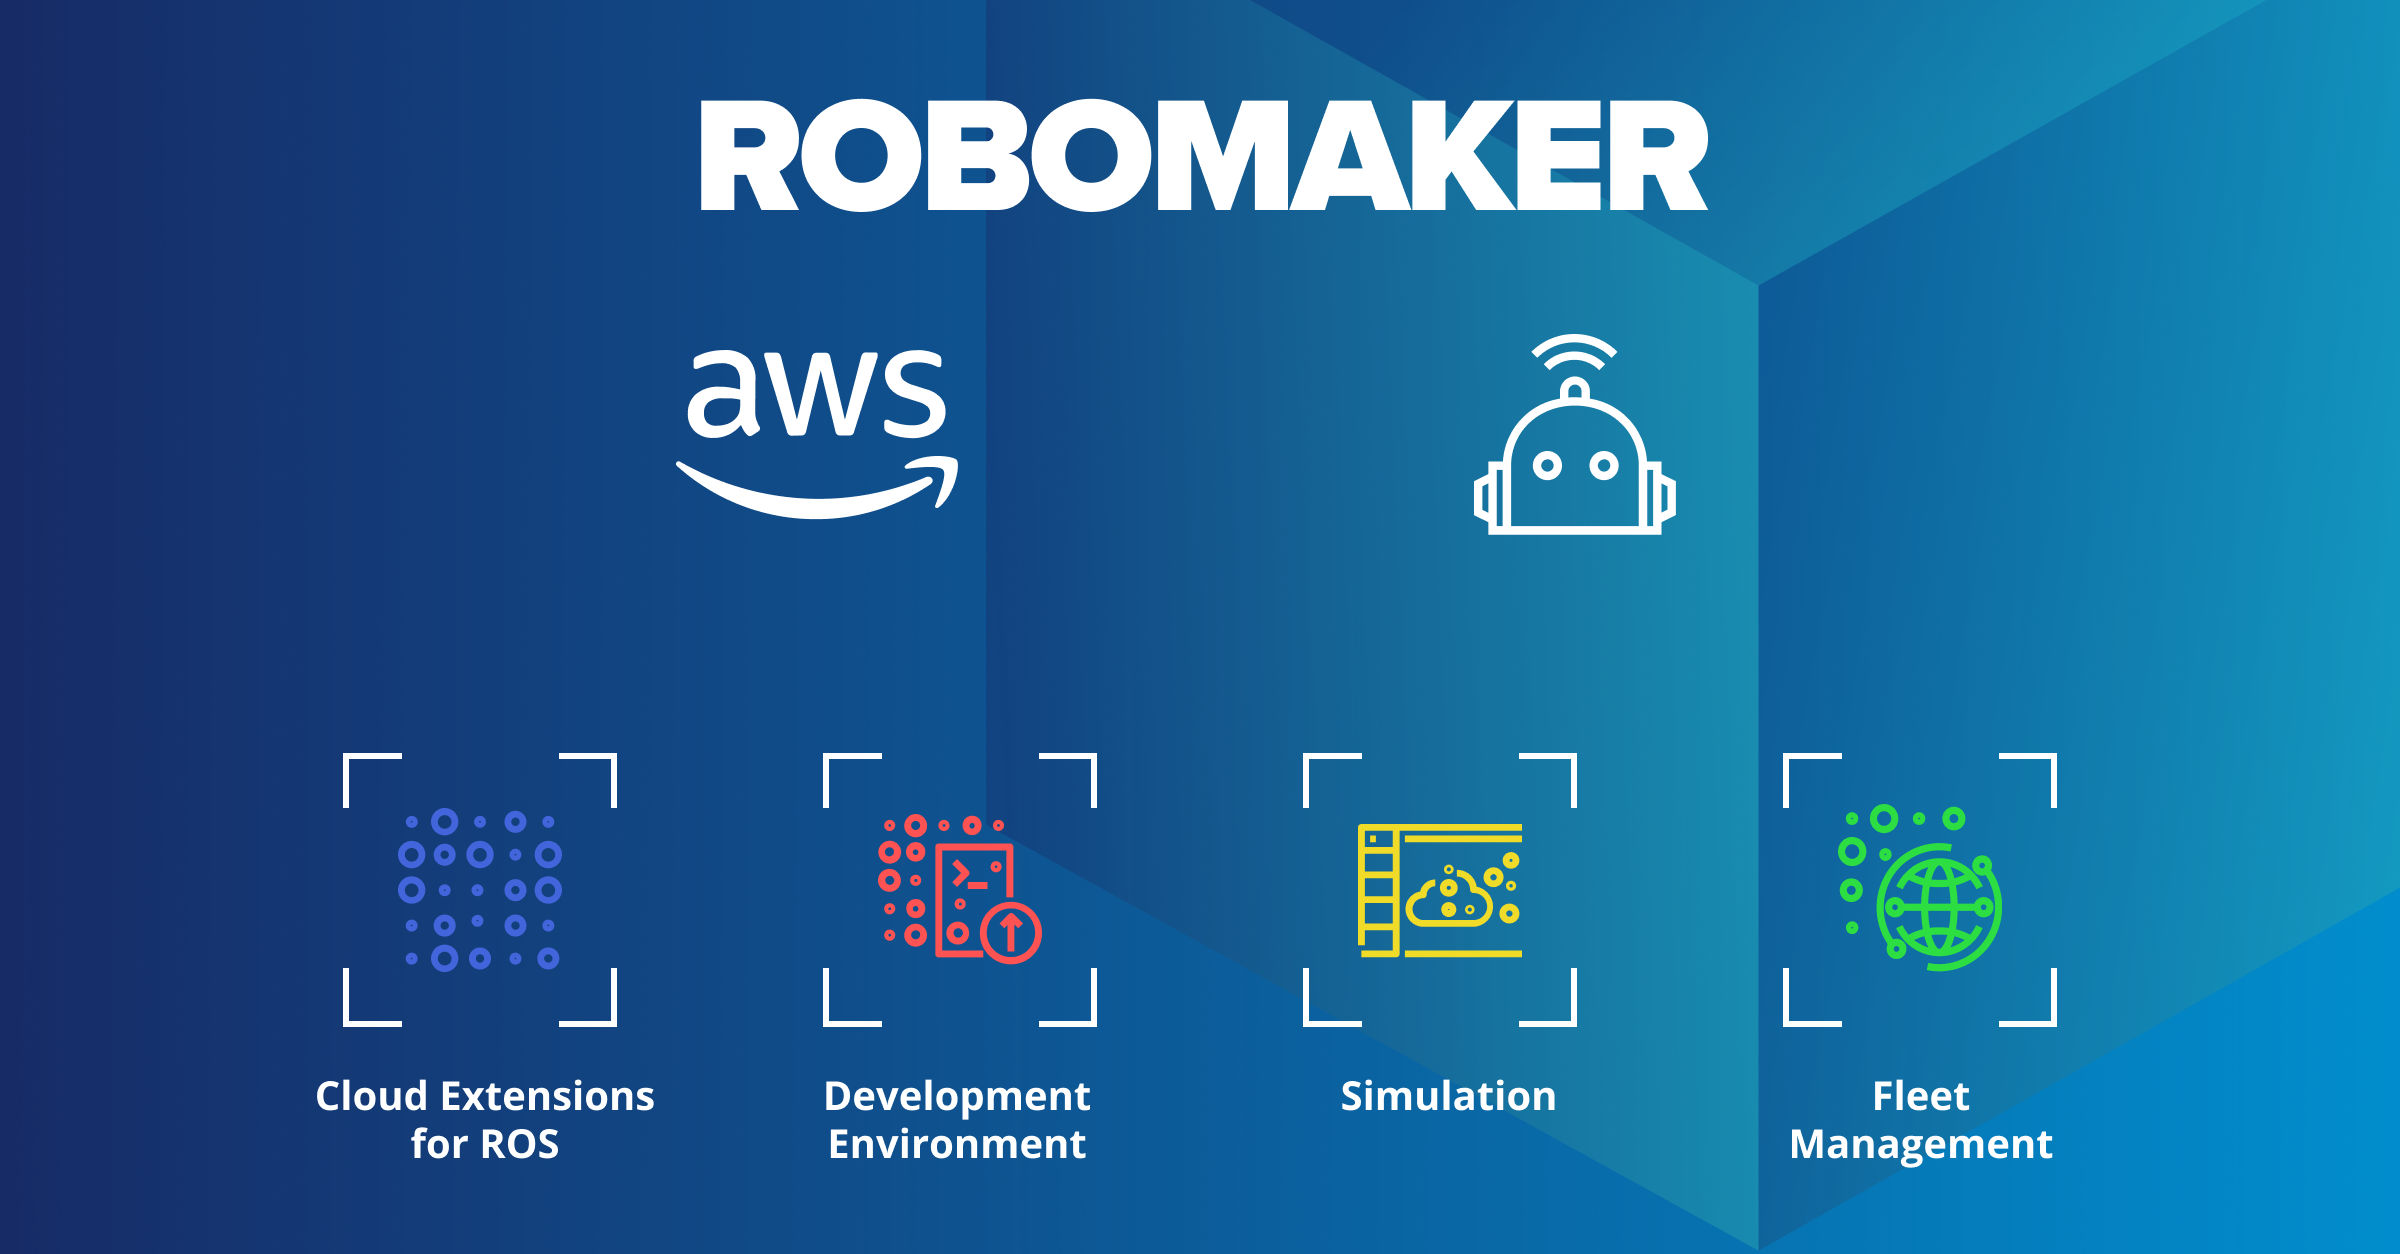
AWS RoboMaker is a comprehensive cloud robotics service offered by Amazon Web Services (AWS) that simplifies the development, testing, and deployment of robotics applications. With its powerful set of tools and resources, RoboMaker enables developers to focus on building innovative robotic solutions without worrying about infrastructure management. In this blog post, we will explore how to access and use AWS RoboMaker directly from the AWS Management Console to develop and test robotics applications.
Step 1: Accessing AWS RoboMaker in the AWS Console
- Log in to the AWS Management Console (https://console.aws.amazon.com) using your AWS account credentials.
- Once logged in, navigate to the AWS RoboMaker service by either searching for “RoboMaker” in the search bar or locating it under the “Robotics & AI” category in the services menu.
Step 2: Creating a RoboMaker Development Environment
- After accessing the AWS RoboMaker service, click on the “Development environments” tab in the left navigation pane.
- Click the “Create environment” button to start creating a new development environment.
- Provide a name for your environment and select the desired settings for the development environment, such as the VPC configuration, instance type, and IAM role.
- Review the configuration details and click “Create” to initiate the creation process.
Step 3: Developing Robotics Applications in RoboMaker
- Once the development environment is successfully created, click on its name to access the environment.
- Within the development environment, you can use the integrated AWS Cloud9 IDE to write and edit your robotics application code.
- Familiarize yourself with the available sample projects, libraries, and tools provided by RoboMaker to accelerate your development process.
- Leverage the AWS SDKs and other libraries supported by RoboMaker to interact with AWS services and enhance the functionality of your robotics applications.
Step 4: Simulating and Testing Robotics Applications
- RoboMaker offers a powerful simulation feature that allows you to test and validate your robotics applications in virtual environments before deploying them to physical robots.
- In the AWS RoboMaker console, navigate to the “Simulation applications” tab in the left navigation pane.
- Click the “Create simulation application” button to create a new simulation application.
- Provide a name and select the development environment created earlier as the source for your simulation application.
- Configure the simulation application settings, such as the simulation software suite, launch configuration, and robot applications.
- Launch the simulation and monitor the progress in the console.
Unleashing the Potential of 5G Networks and Edge Computing with AWS Managed 5G Service
Step 5: Deploying Robotics Applications
- Once you are satisfied with the performance of your robotics application in the simulation environment, you can deploy it to physical robots.
- Under the “Fleet management” tab in the left navigation pane, you can register your robots, create robot fleets, and manage their deployments.
- Create a new deployment, select the desired robot fleet, and specify the application and launch configuration.
- Follow the on-screen instructions to complete the deployment process.
- Monitor the deployment status and troubleshoot any issues that may arise.
Step 6: Monitoring and Debugging Robotics Applications
- AWS RoboMaker offers built-in monitoring and debugging capabilities to help you track the performance of your robotics applications.
- In the AWS RoboMaker console, navigate to the “Robot applications” tab in the left navigation pane.
- Select your robot application and click on the “Monitor” button to access real-time metrics and logs.
- Use the monitoring data to identify bottlenecks, optimize performance, and troubleshoot any issues that may arise during development and deployment.
Step 7: Collaborating with Team Members
- AWS RoboMaker provides collaboration features that allow multiple team members to work together on robotics projects.
- Within the AWS RoboMaker console, you can invite team members, assign roles and permissions, and manage access to development environments, simulation applications, and robot fleets.
- Collaborators can contribute code, share resources, and collaborate seamlessly using the integrated AWS Cloud9 IDE.
Step 8: Leveraging Robotics Simulation World Extensions (SWE)
- RoboMaker supports Robotics Simulation World Extensions (SWE), which enable you to customize and extend the simulation environment to meet your specific needs.
- SWE allows you to import custom 3D models, define custom sensors, modify physics parameters, and create realistic and tailored simulation scenarios.
- By leveraging SWE, you can test your robotics applications in highly realistic virtual environments that closely mimic real-world conditions.
Step 9: Integrating with Other AWS Services
- AWS RoboMaker seamlessly integrates with other AWS services, enabling you to leverage the full power of the AWS ecosystem.
- You can use AWS services like AWS IoT Core for device connectivity, AWS Lambda for serverless computing, and Amazon S3 for data storage and retrieval.
- Integration with services like Amazon Rekognition for image recognition or Amazon Lex for natural language understanding can enhance the capabilities of your robotics applications.
Step 10: Scaling and Managing Robotics Deployments
As your robotics applications grow and require more resources, AWS RoboMaker makes it easy to scale and manage your deployments.
You can leverage AWS Auto Scaling to dynamically adjust the number of instances based on demand, ensuring optimal performance and cost efficiency.
Additionally, AWS RoboMaker provides built-in deployment management features that allow you to version and roll back deployments, making it easier to iterate and update your robotics applications over time.
Conclusion
AWS RoboMaker provides a comprehensive set of tools and services for developing, testing, and deploying robotics applications. By accessing RoboMaker directly from the AWS Management Console, developers can leverage the cloud-based infrastructure and powerful simulation capabilities to accelerate their robotics development process. By following the steps outlined in this blog post, you can confidently access and utilize AWS RoboMaker to build innovative robotic solutions and bring them to market faster than ever before. Happy coding!